6 Easy Steps for Making a Beautiful Bed
It’s probably cliche by now but making your bed first thing in the morning truly does get your day going in the right direction. I try to make mine as soon as I jump out of bed but if I’m rushing and unable to at that time, I always get it done before mid morning. I do typically give myself a break on the weekend but even then I like to at least turn it down neatly, however skipping the fancy bed pillows. There is nothing more cozy and comfortable than getting into a made (or at least mostly made like my weekend regime) bed in the evening!! With all of that said, I thought I would share my 6 easy steps for making a beautiful bed with you today.
One of the things that people always say when visiting my home for the first time is that our bedroom looks and feels like a hotel suite. Not that that’s necessarily what I was going for (although that’s a super nice compliment) but I think a lot of it has to do with the way the bed is made up and I’m excited to share my tips on this with you today (affiliate links used throughout this post).
Here is what you’ll do to get started…
1. Remove all pillows and pull fitted sheet tight from both sides up top near the headboard, smoothing out any ripples in the fitted sheet with your hands. If your blankets are already on the bed at this point they should be folded down or pushed to the side about half way down the bed to give you room to complete this step.
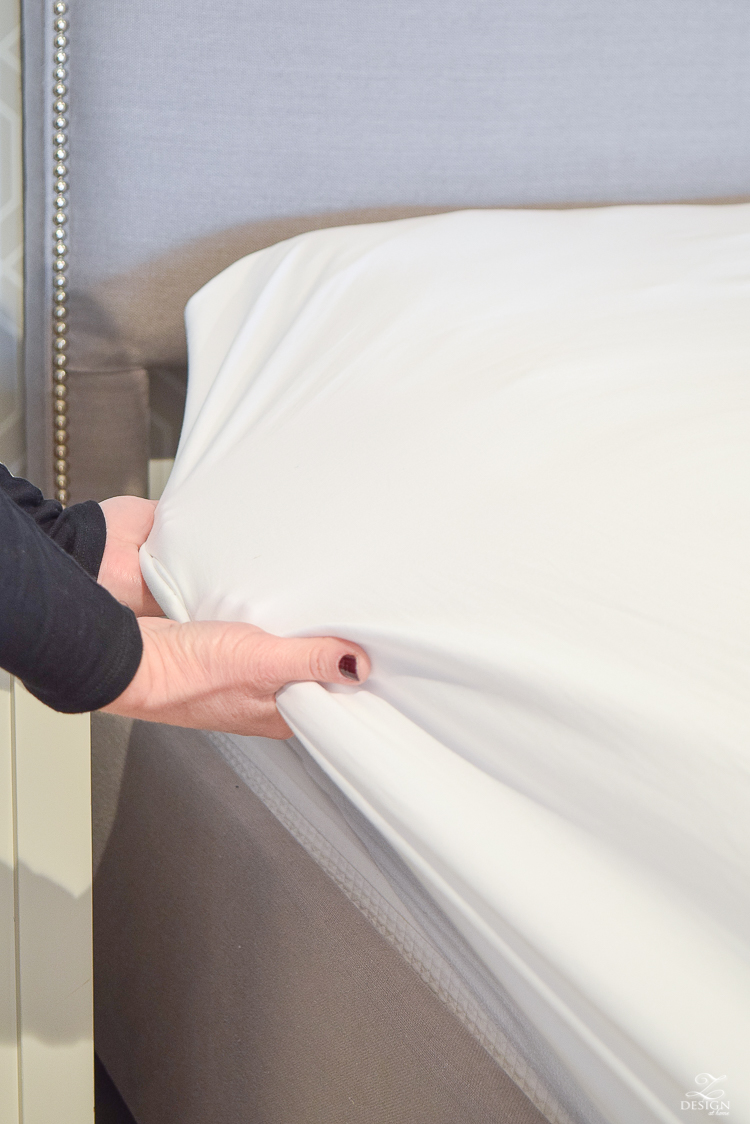
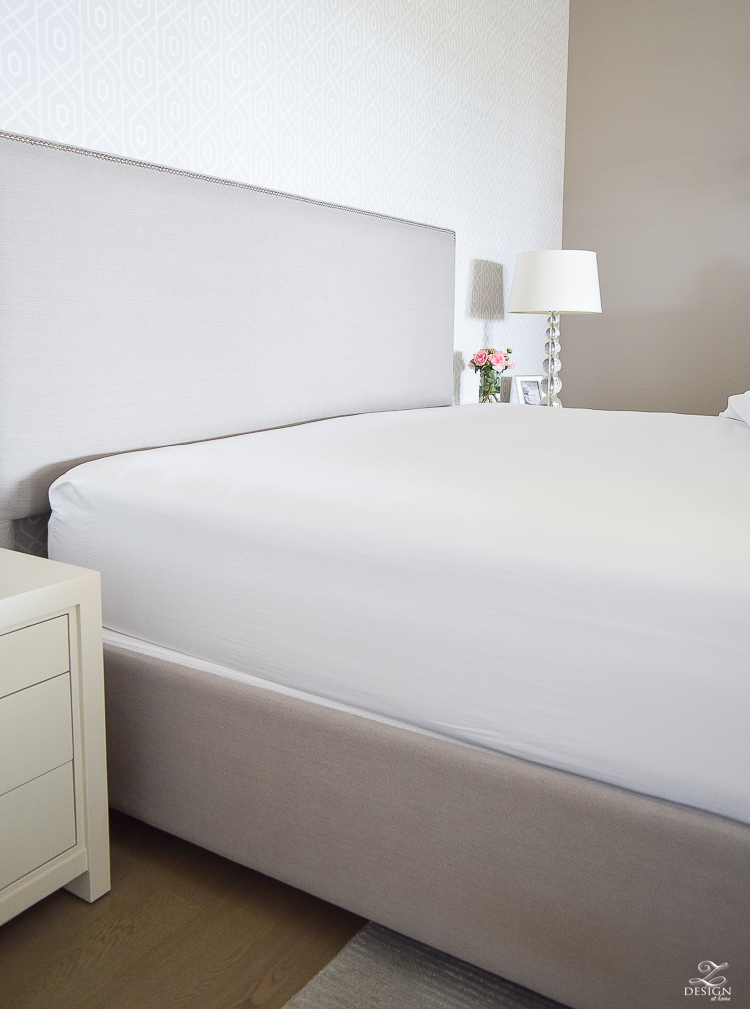
2. Reveal the bottom sides of the bed by pulling up your duvet or quilt to make sure your corners and bedding sides are neatly tucked under the mattress. A hospital corner is recommended but be sure to tuck your covers neatly under the mattress from the foot of the bed all of the way up to about half way up the sides of the bed. If you aren’t familiar with how to do a hospital corner I’m sure Google can help with that (gotta love Google;).
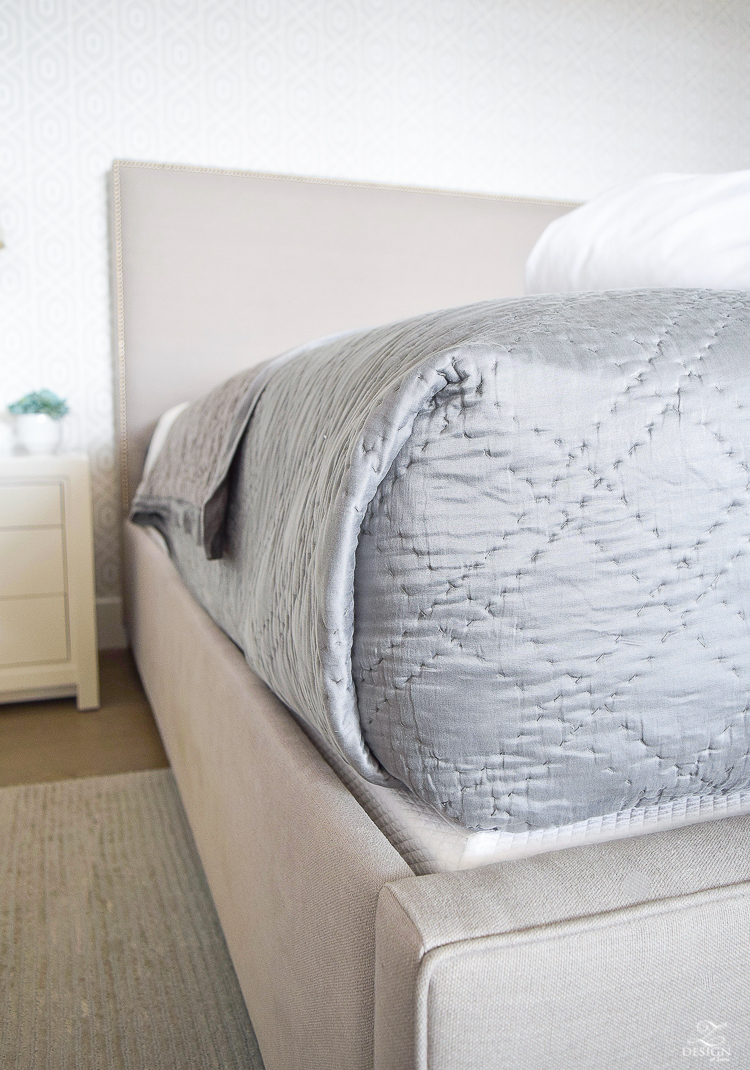
3. Bring your sheet, quilt, and duvet (or whatever blankets you are using) all the way up to the headboard pulling them taught, straight, and square on top of the mattress, with equal parts falling over the sides.
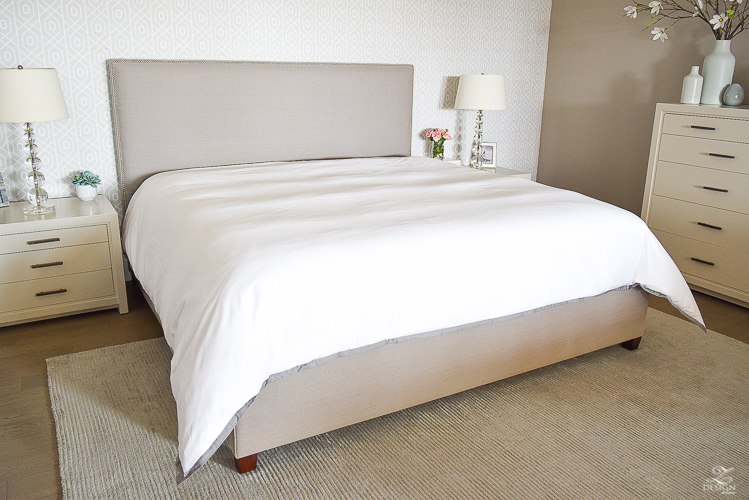
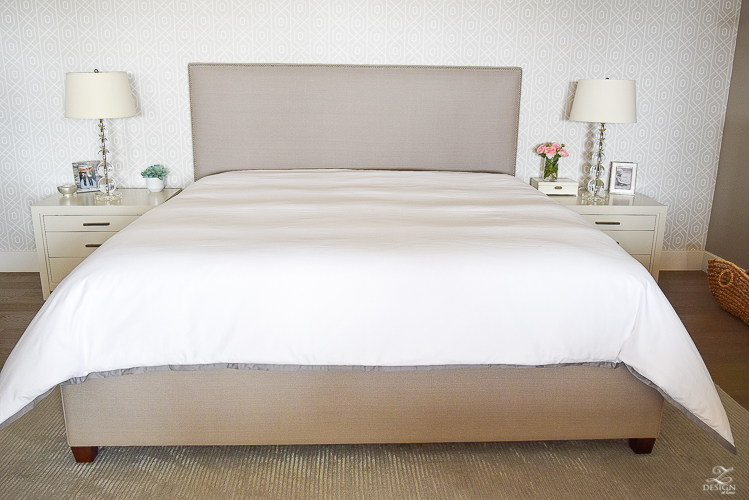
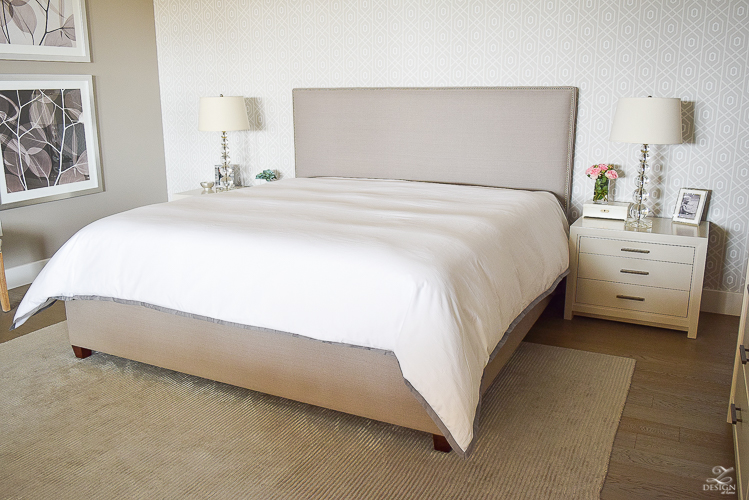
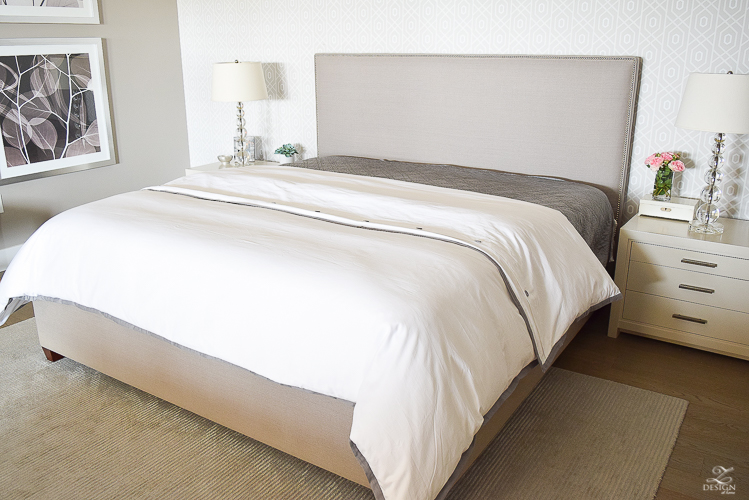
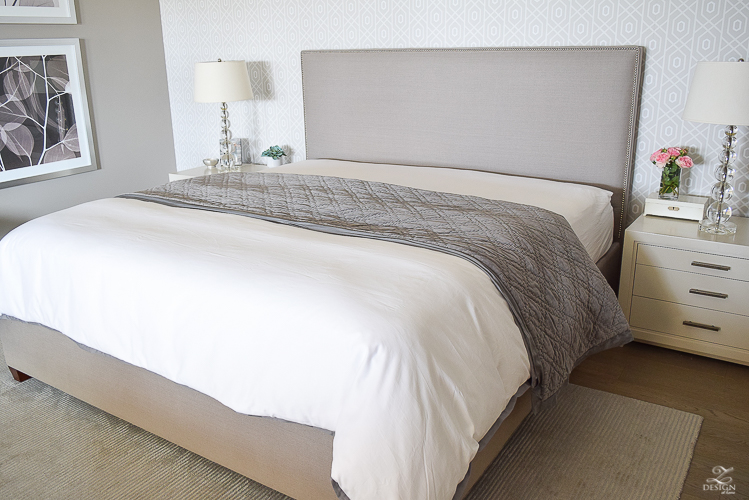
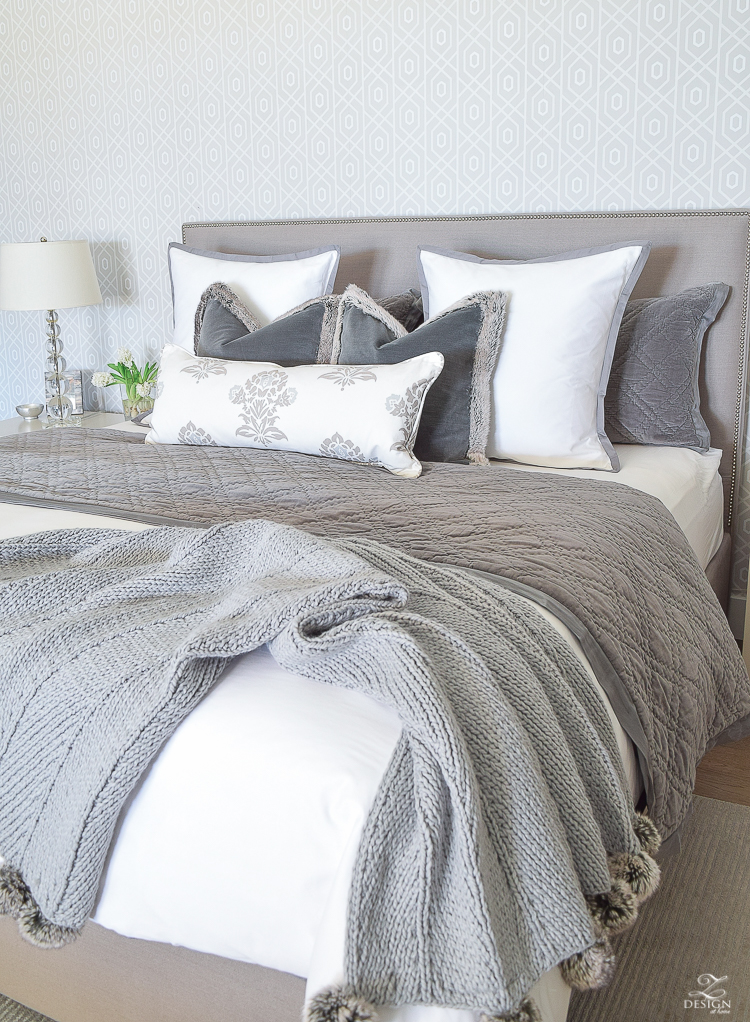
4. Now you are ready to turn down your duvet (or top layer) half way neatly, then turn down your next layer over the duvet neatly (in my case the gray quilt shown). Lastly, turn down your sheet…I tucked my sheet neatly under the quilt since I wanted my quilt to show on top but if you want your sheet to show on top like I did HERE then you can do that too (this part is personal preference) but either way, after it’s turned down you should pull all blankets taut from both sides again smoothing out any ripples with your hands. Important tip: Always remember to put your blankets where you want the pretty side to show face down on your bed.
With duvet (or top layer) turned down…
With quilt (or middle layer) and sheet turned down…
5. Add your pillows using the examples below as a guideline but generally speaking this is what I do for each size bed, and of course this can be altered to your liking:
Twin size bed: 1 standard sham (or you can use the sleeping pillow) propped up against headboard / 1 euro sham in front of that / 1 20 x 20 (or similar size) decorative pillow in front of that
Full size bed: 2 standard shams or sleeping pillows propped up against the headboard / 2 euro shams in front of that/ 1 20×20 pillow in front of the euro shams
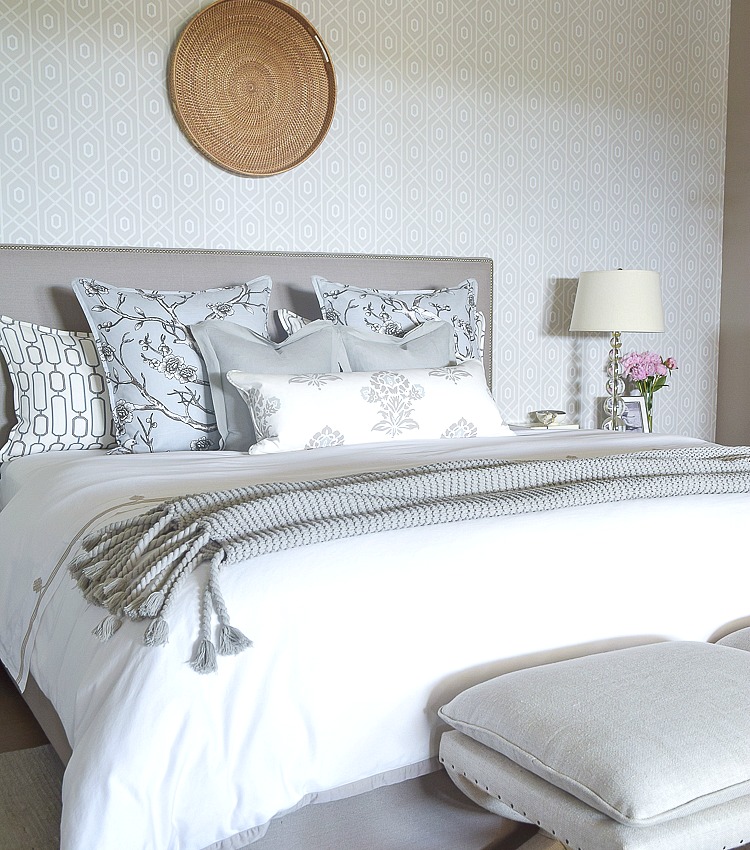
Queen bed: 2 euro shams in back against headboard / 2 20-24″ pillows in front of the euro shams / 1 lumbar in front (I like to use a 12 x 21 lumbar insert found HERE). See my guest room as an example of this scenario…
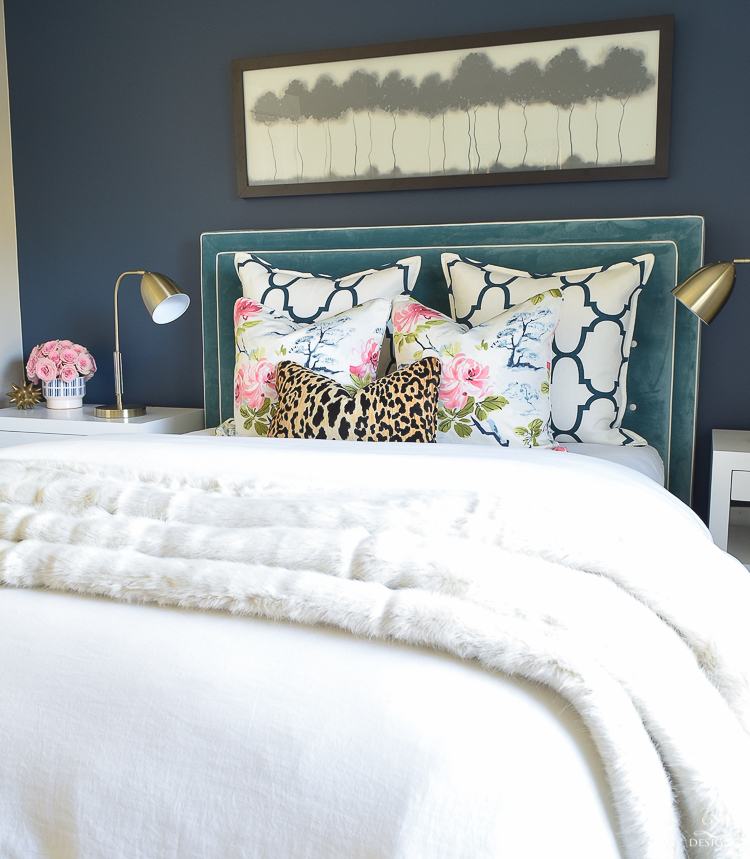 Full Room Tour HERE
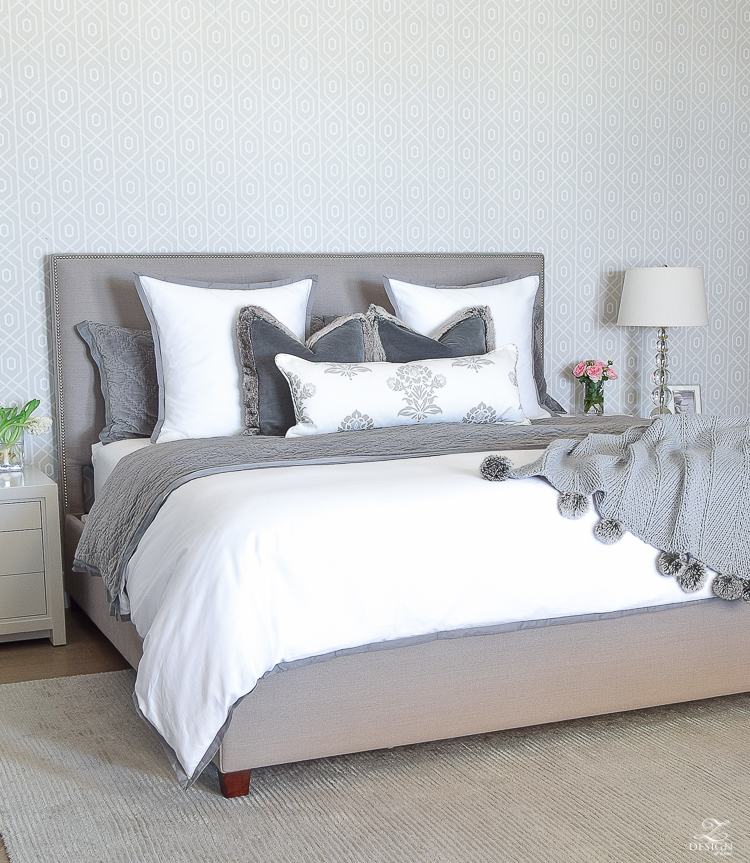
King size bed: 2 king size shams in back – leaning or flat / 2 or 3 euro shams in front of the king shams (personal preference here) / 2 20x 20’s in front of the euro shames / 1 large lumbar in front – See progression of adding pillows below…
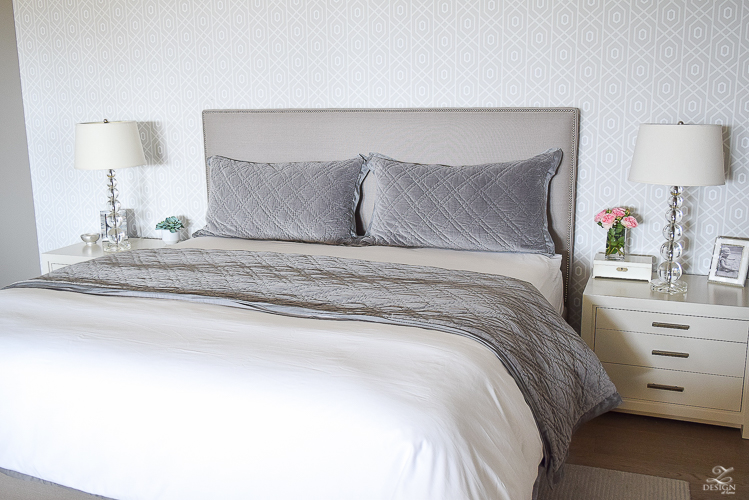
I like to use THESE euro sham inserts in a size 28″. This size seems to work best because they fill up the standard size euro sham nicely to give you a nice clean look with no floppy corners. The standard 26″ just doesn’t do the job for me because there will be space left over inside the sham and the end result can look sloppy. I have a full blog post on perfectly appointed pillows that you might want to catch while you’re here for more info on this subject….you can find that post there HERE.
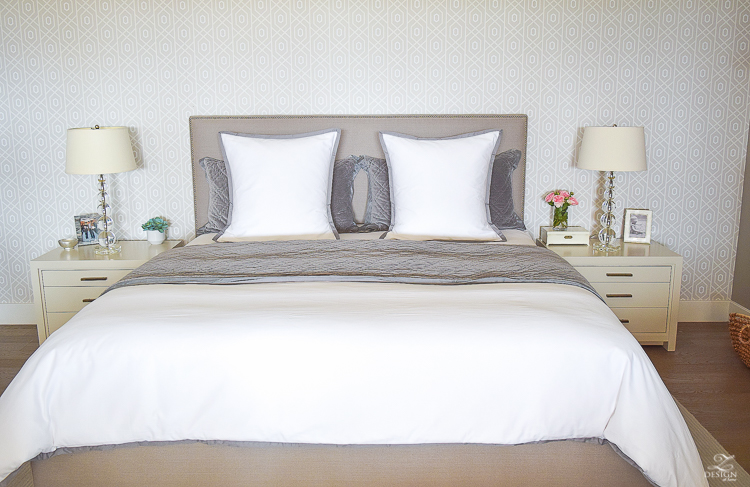
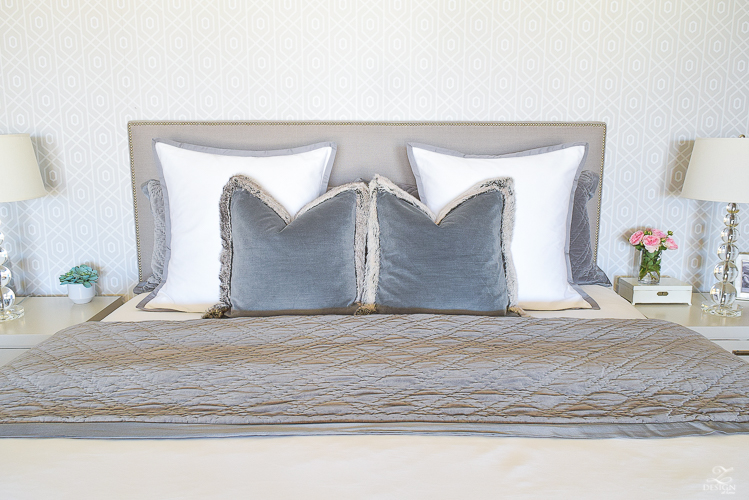
One point I’d like to make here is that I usually place my pillows in such a way that they will contrast nicely against one another. Contrast always creates interest in any setting or grouping and can make any space pop!
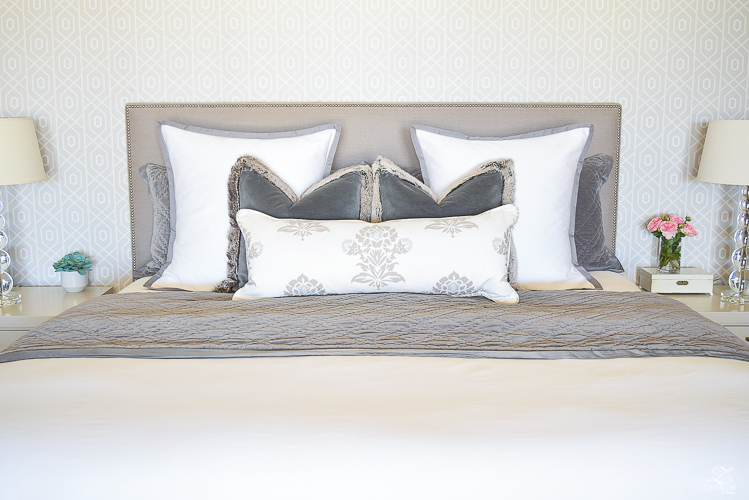
This large 14 x 36 lumbar insert that I use is perfect for a king size bed and can be found HERE. The pillow cover was custom made to fit the insert (fabric no longer available).
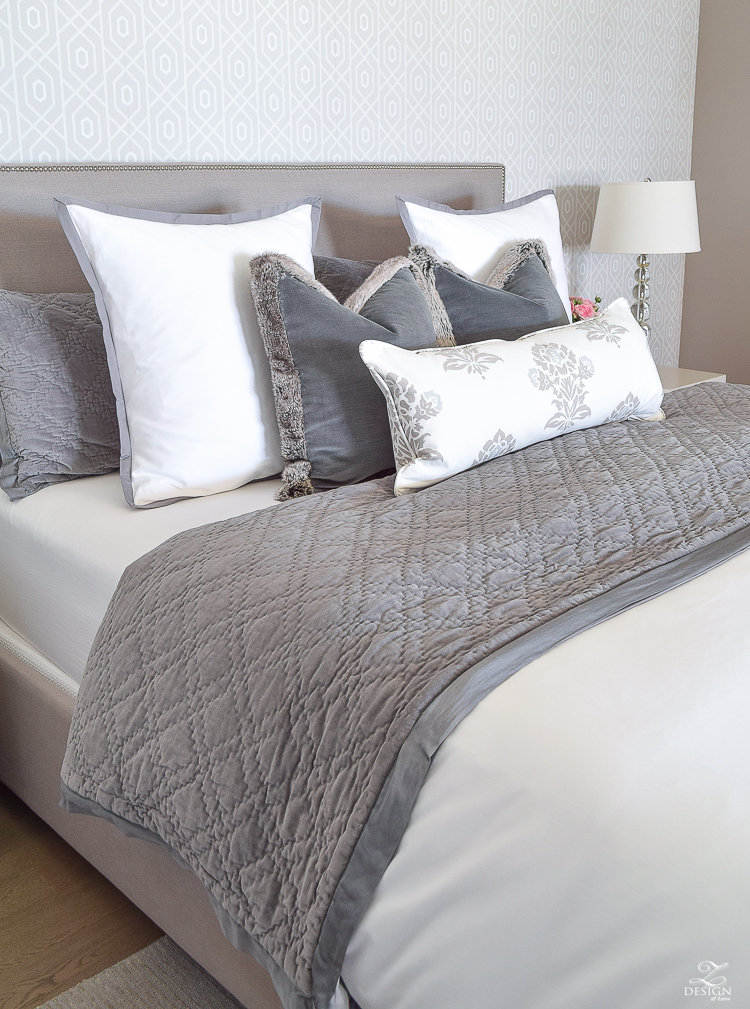
Shop the Bedding
6. And last but not least I always use a throw at the foot of the bed but you could use a pretty blanket or your comforter folded down if you like. Sometimes I pull it straight across the end (as seen HERE in a full tour of this room) and sometimes I throw it over the corner but you can play with this part to see which works best for you.
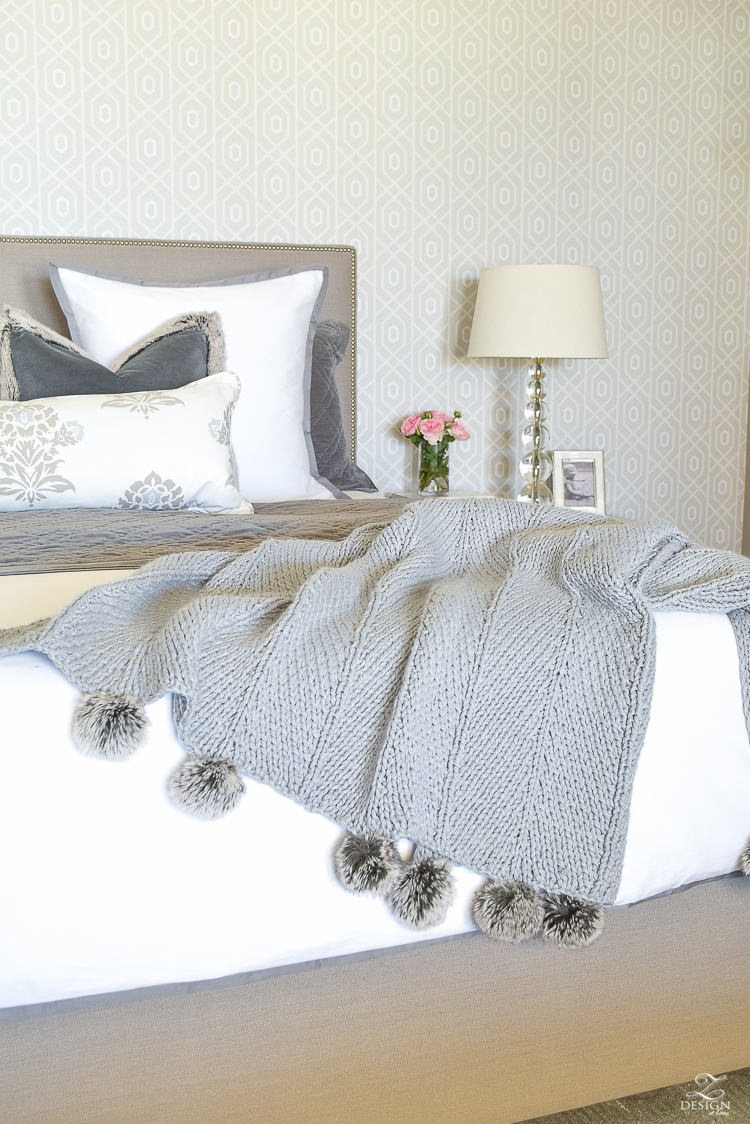
In closing, at first this may sound like a lot but once you get used to the process you will be able to do it quickly. The bonus is that when you walk into your bedroom at the end of the day it will be a serene sanctuary for relaxation and sleep for you and your partner. There are truly so many ways you can display your pillows and this just happens to be the way I like to do it so I hope this post was helpful but, you can certainly adjust this process as needed to fit your needs. For me, less is more so I tend to not have an over abundance of pillows on the bed when made up but of course you can add more to this mix as you see fit. I think you actually achieve a more polished, luxurious look and feel by not having too many pillows on the bed as clutter can mean chaos and the last thing you want in the bedroom is chaos in my opinion:).
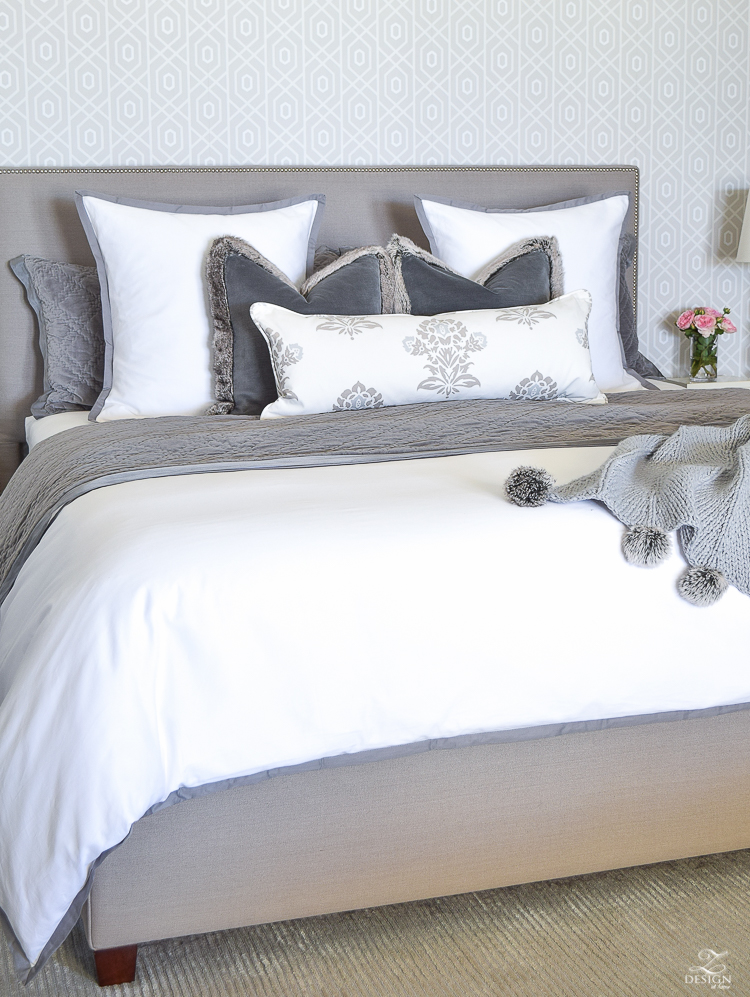
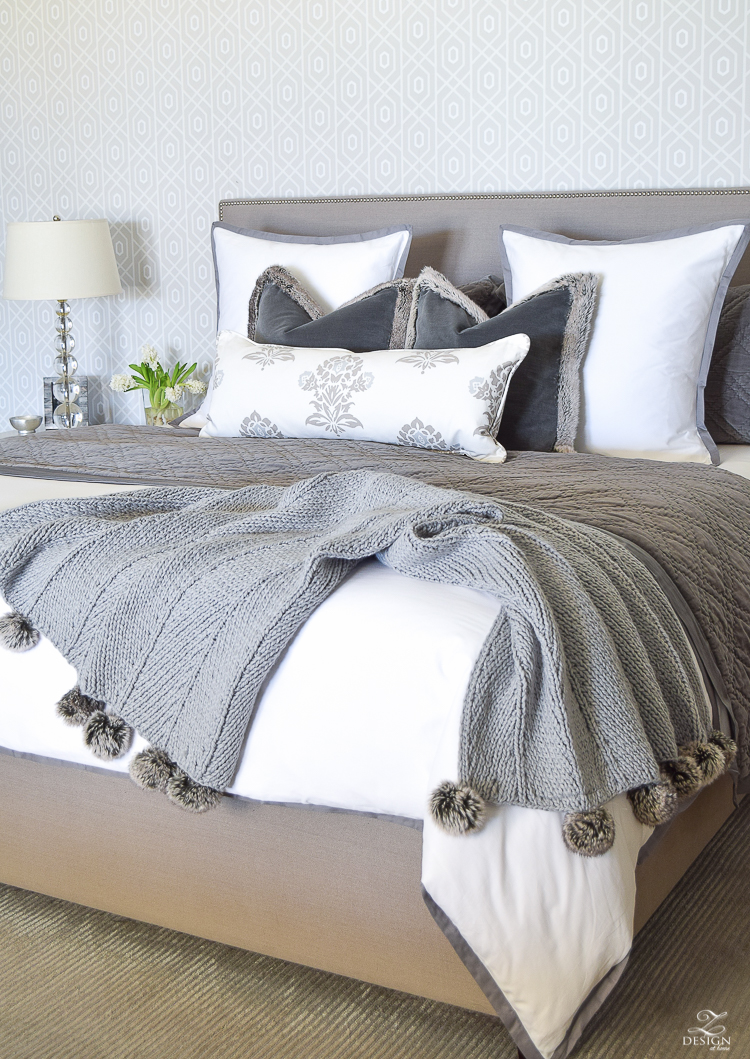
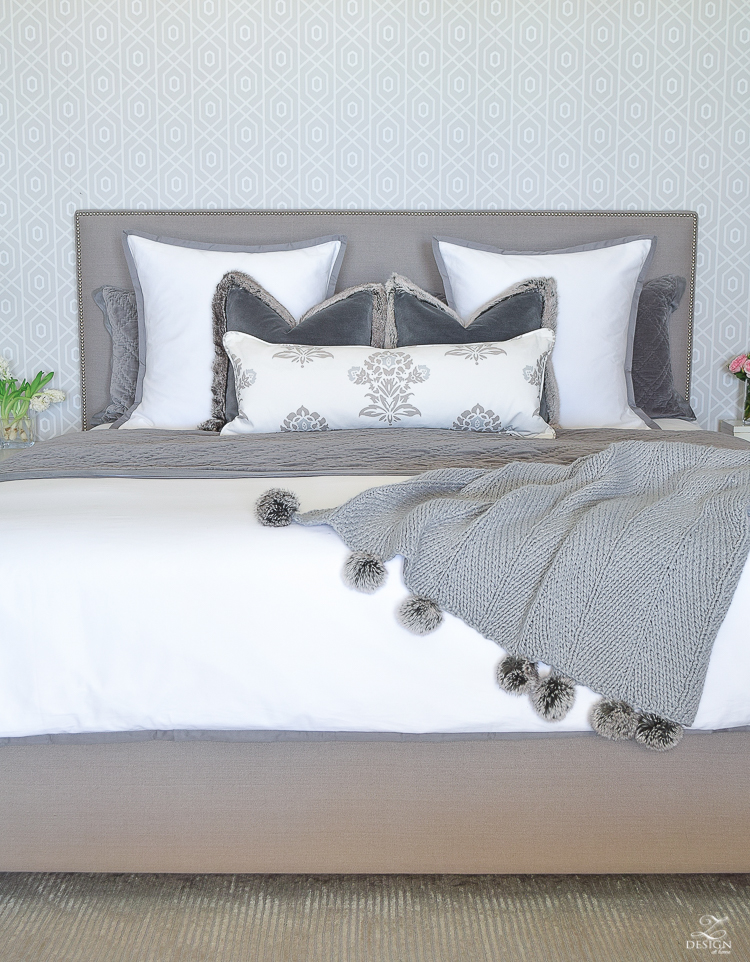
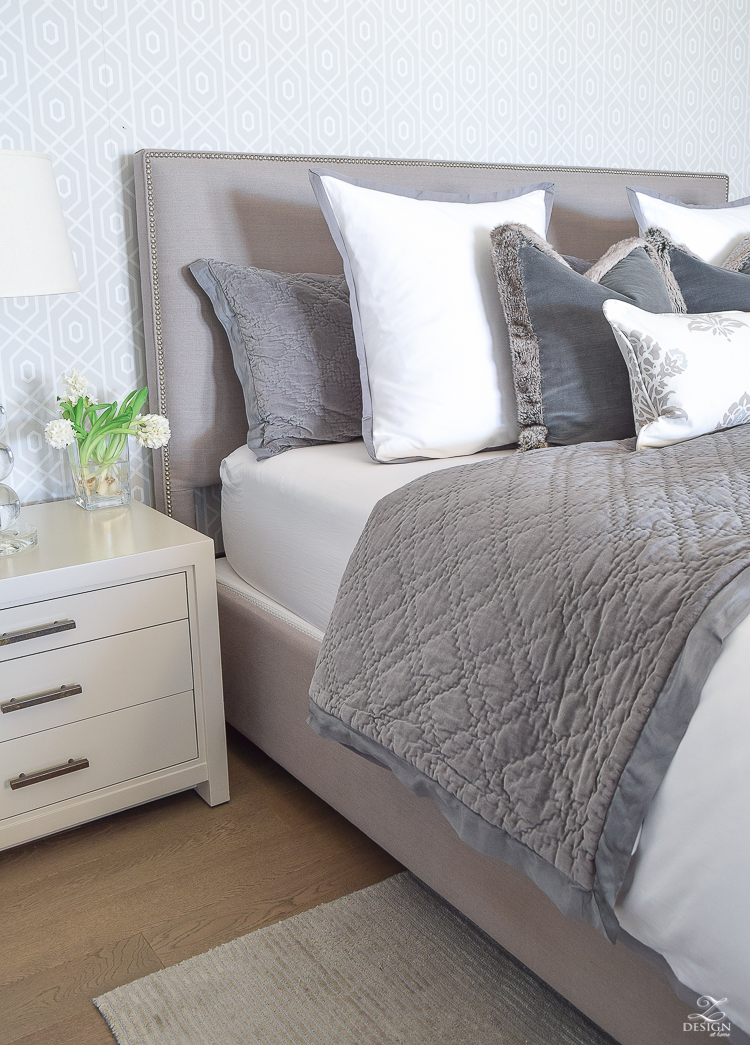
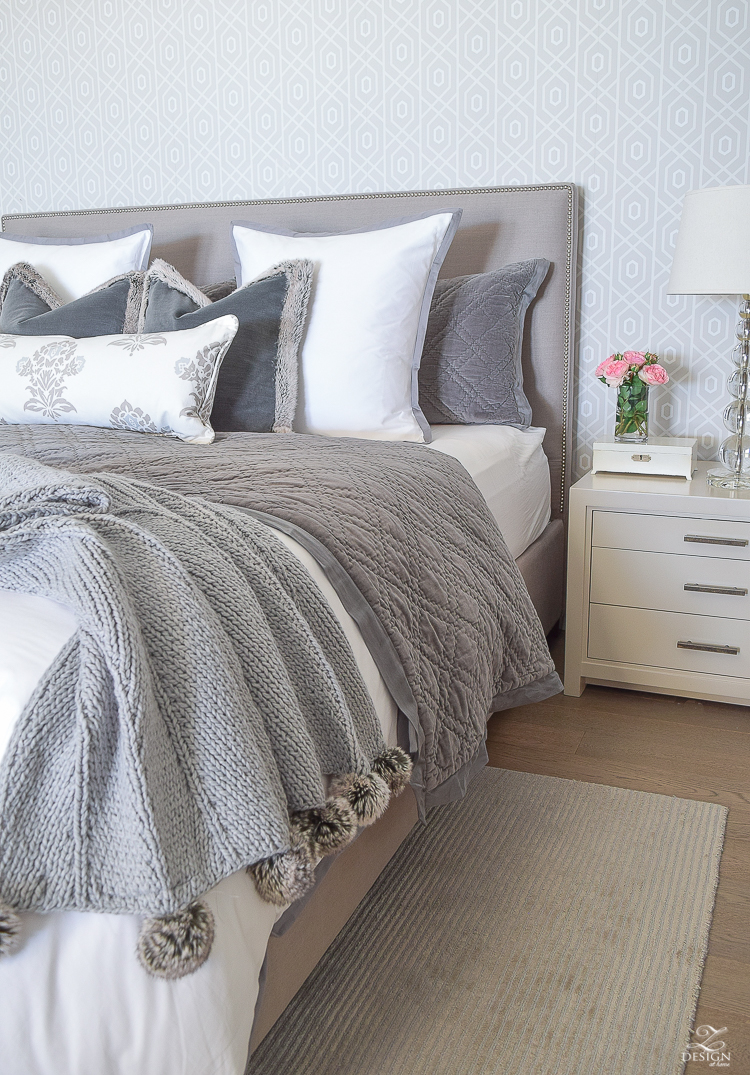
Shop the Bed
And last but not least and in case you were curious, we have drawer storage in our closet so during the day our sleeping pillows are stored in the dresser close by. In previous homes however we have stored them in the closet…anything to get them out of site during the day and to help keep things looking picked up but here are some ideas for you for day time pillow storage.
- In the closet
- Inside an armoire or any other piece of furniture
- In an ottoman that has storage at the foot of the bed or elsewhere in the room
- A large lidded basket in the closet or somewhere in the bedroom (we have utilized this option before)
If you have any questions please feel free to leave them below and thanks for stopping in this week to ZDesign At Home! I always appreciate each and every one of you stopping in and I love to hear your feed back so please don’t forget to leave me a note in the comment section below! 🙂
Xo, Bree



Where do you put the pillows you sleep on when the bed is made?
Hi Amy, Currently we store them in the bedroom’s dresser since we have drawers in our closet for clothes however, in the past we have stored them in the closet during the day and even an armoir at one point in one of your previous homes…anything to get them out of the way during the day:). Hope that helps a bit and thanks for stopping in!!!
Hi Bree! I always love your IG posts! I have trouble getting my bed made but love when I do! Question, on a king size bed, where are you putting the sleeping pillows? I have velvet euros, shams that match my duvet, lots of throw pillows and then our pillow we sleep on with the pillow cases that came with the sheets. I didn’t see them on your King size bed section, are they the first pillows to place against the headboard? Thanks!
Hi Lori! Our sleeping pillows are stored in the dresser since we have clothing storage in our closet however I have stored them previously in an armoire and in the closet during the day. Hope that helps and thanks for stopping by the blog!! xo
Bree, from what I can see from last few pictures what you did was to lay the duvet top side down on the bed. The colored fabric (gray) is hidden and then shows when you turn down the top end. Is this correct? So this is Option #2, if I’m correct. Option #1 is to lay the duvet top side up on the bed and tucking the bottom and corners between the mattress as it shows in picture #3.
Hi Debbie, I’m not sure I understand what you are saying but, you are correct about the gray blanket showing once you turn down the top. I wasn’t necessarily giving different options for how to do this (although you can adjust this process however you need to for your taste and needs) but I was just showing how I do it which is to turn down the duvet, then the quilt, then the sheet which in this particular case I tucked under the quilt so that you can see the gray blanket on top vs. seeing the sheet on top (hope that makes sense). I also referenced other blog posts where you can turn the sheet down over your quilt or middle blanket (or your blanket in between the duvet and sheet) so that you can see another way I did it. Hope all of this helps a bit. Thanks so much for stopping in and for commenting!! 🙂
First of all, your bedroom is divine!!! My question is, on a king bed, where are your actual “sleeping pillows”? Are they stored off the bed or behind the two king decorative pillows? I have a sleigh bed and find it most difficult to neatly tuck top sheet, quilt and functional down comforter (in a thin duvet). My plush down (think PB look) stays folded down at bottom third. Any thoughts?
Lynda I love that look too (with the comforter at the bottom) and this could be in place of where I reference the throw at the bottom. To answer your question though about the sleeping pillows…we store them off the bed during the day in our dresser since we have clothing storage in our closet. We have however stored them in the closet during the day and even in an armoire at one point just to keep them out of site and to keep things clean and clutter free during the day. Hope this helps and thank you for stopping by to see this post!! Xoxo
I always make my bed with three euro shams in back, two king pillows in shams in front and two decorator cushions, duvet folded on bottom and throw across bottom. Even though it’s a king so you have to walk around, I can make it in 6 minutes while my eggs are boiling. Pretty proud of that!
That sounds perfect, Joanna! And I love that you’ve timed it…that’s so awesome!! Thanks for stopping in! Xo
Oh, I haven’t timed it, as such. They are six minute eggs . The stove timer is guilty. ?
Thanks for the ideas! I’m planning to buy new bedding and never thought about swapping the order of my king and euro pillows (I have always put the euros in the back). Just curious to know what sheets and euro pillow forms you like?
Hi Lisa, I have a full resource list at the bottom of this post or you can go to my home resources page under the bedrooms tab to find the sheets and euro insert I use. Thank you! Here is the link to my shop page…Shopping Resources
Love your bedding and blog! What size is your rug? Thank you!
Hi Laura! My rug size is 8×10. Hope that helps a bit! Xo
Your bedding looks beautiful as always Bree! Such a helpful post! xoxo
Thanks, Jen!!! Xoxo
Excellent post! You’ve shared some very helpful tips! I especially love your tips on storing away the pillows you sleep on during the day. It makes your bed look so clean, crisp and put together! Alexis
Thank you so much Alexis!! And thanks for stopping by! I’m glad you liked my storage tips…anything to get those bed pillows out of the way during the day;) Xo
Everything about this post is perfect, Bree! Including your gorgeous bed! I definitely have room for improvement after reading this. Thanks for the inspiration, sweet friend! Xoxo!
Summer!! Thank you so much for your sweet words and for stopping by! Have a wonderful week!!! Xoxo
Beautiful post Bree! I love your gray bedding! xo
Thank you and thanks for stopping by, sweet Randi!!! Xoxo
Hi Bree,
This was such a helpful post and I learned many new tips about making a bed! My question is about your bed from Pottery Barn. When I clicked on the link, the bed on the Pottery Barn site was showing bronze nailheads and I noticed yours were silver. Is this an option that Pottery Barn no longer carries?
Hi Jennifer! The bed you clicked on is my bed however, since I purchased it many years ago I’ve had it reupholstered as the fabric was damaged the last time we moved. When I purchased it I ordered it with no nailheads because that wasn’t even an option back then. I would call their customer service dept. or go into a store and see if they can help you there with getting the silver nailhead because I know they offer the silver on other pieces they sell. I hope that helps a bit and thanks for stopping in! I’m so glad you found this post helpful and I hope you’ll come back!! 🙂 Xo